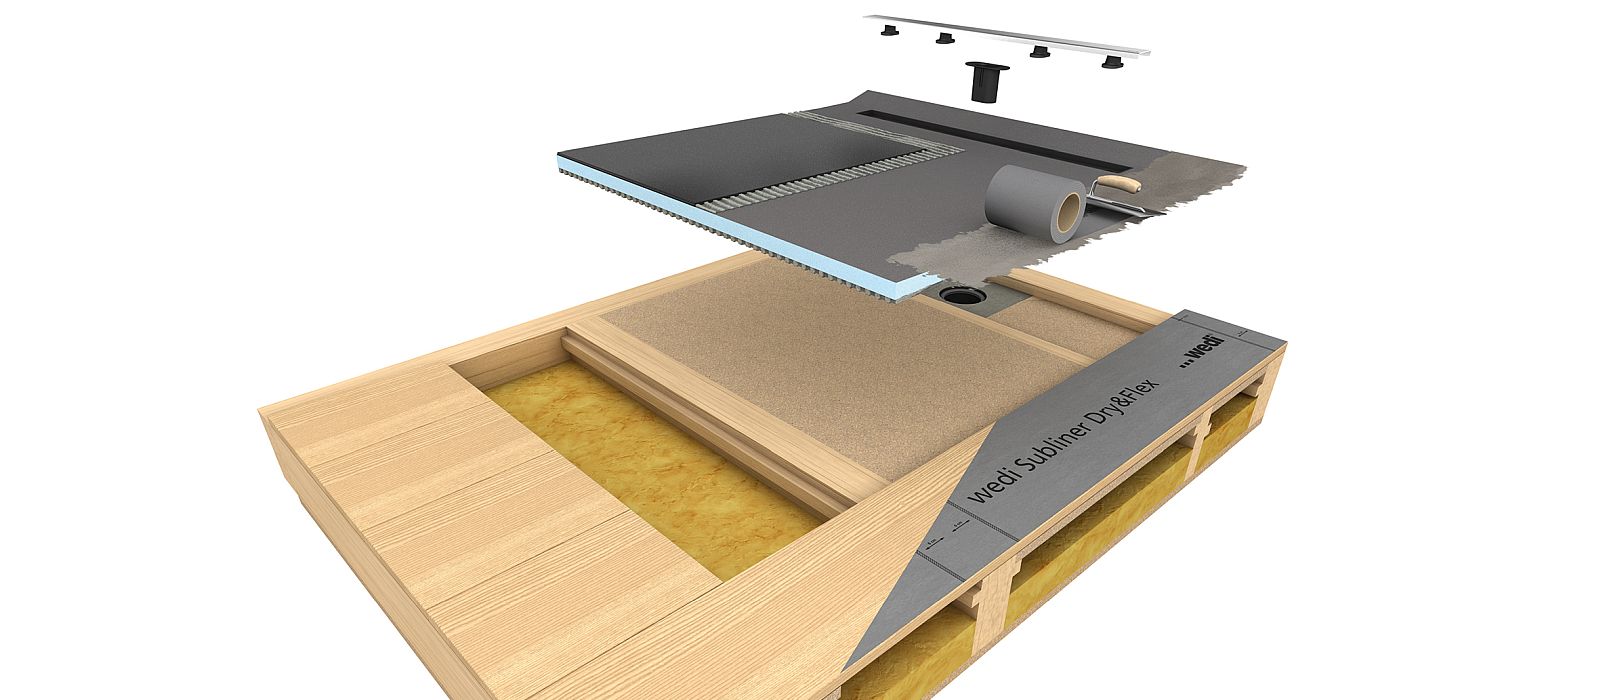
 Step 1
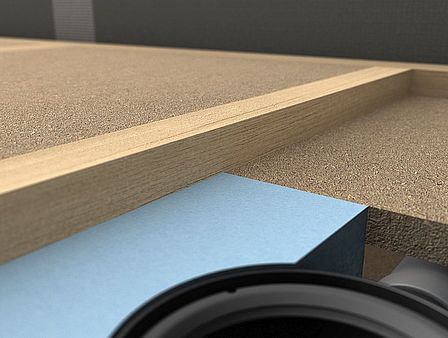
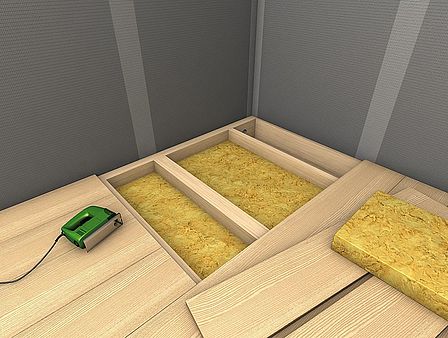
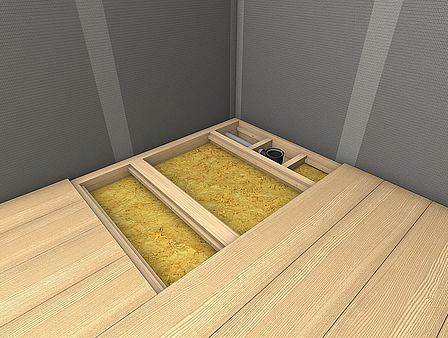
Cut out the timber beam position in the Fundo RioLigno shape and remove the insulating material underneath.
 Step 2
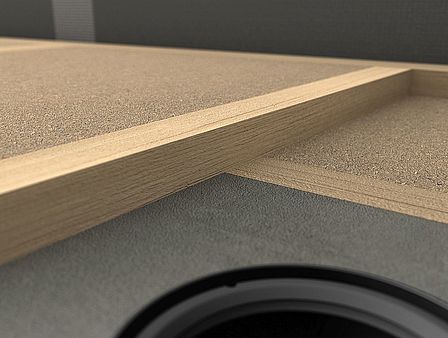
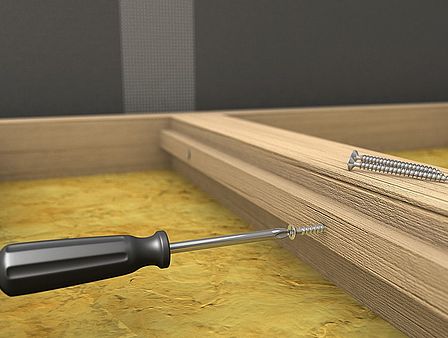
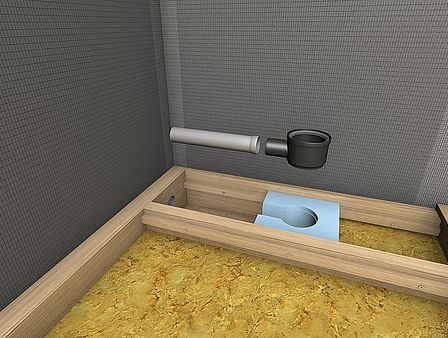
Then, make a holder for the Fundo RioLigno element. To do this, screw timber strips onto the available beam construc-
 Step 3
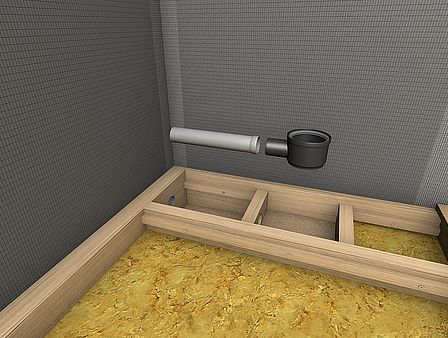
Build formwork (35 x 35 cm) in the drain pot area.
 Step 4
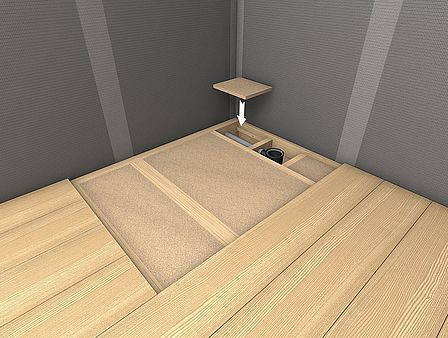
Nun den Ablauftopf anschließen und den Bautenschutzdeckel aufsetzen.
 Step 5
Now, connect the drain pot and attach the structure preservation cover. Create the holder for the RioLigno element using timber boards, which are screwed onto the strips.
 Step 6
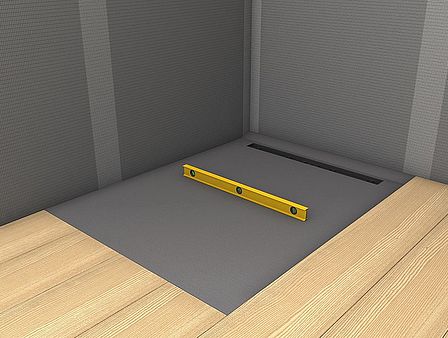
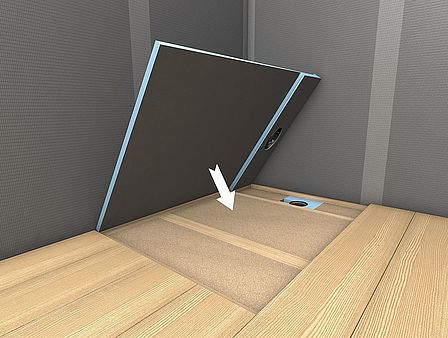
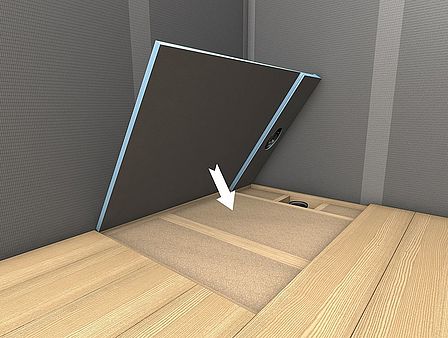
Check the drain position of the wedi Fundo RioLigno element and adapt it, if necessary.
 Step 7
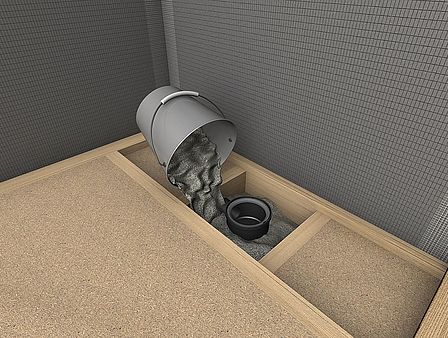
Fill the recess with earth-moist screed.
 Step 11
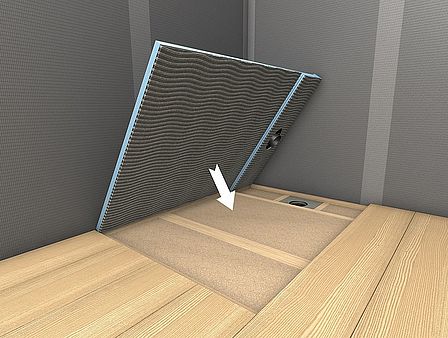
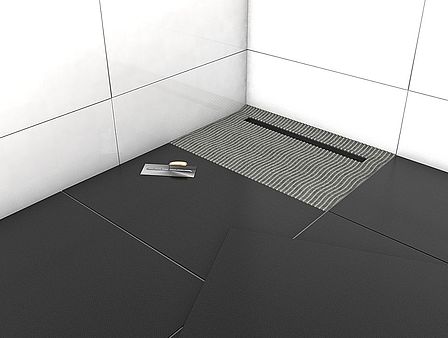
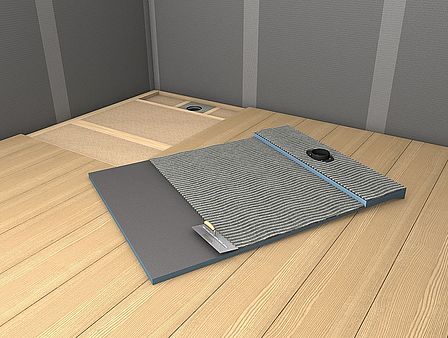
Apply tile adhesive all over the underside of the shower element.
 Step 14
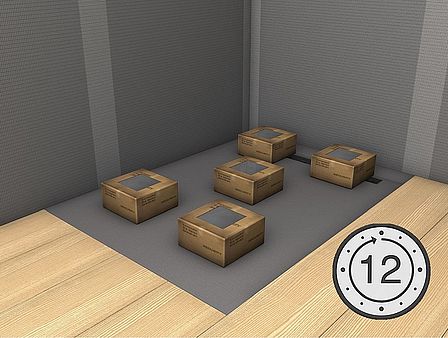
Weight the element down for 12 hours.
 Step 15
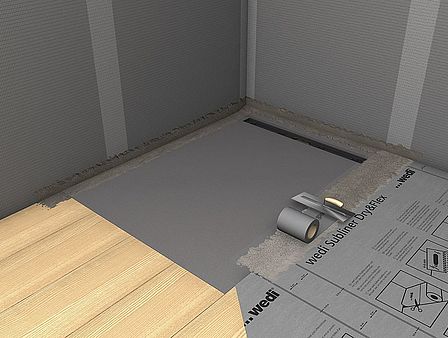
Seal the joins and timber beam transitions with the wedi Fundo sealing set. Recommendation: Seal the complete timber floor area with wedi Dry & Flex.
 Step 17
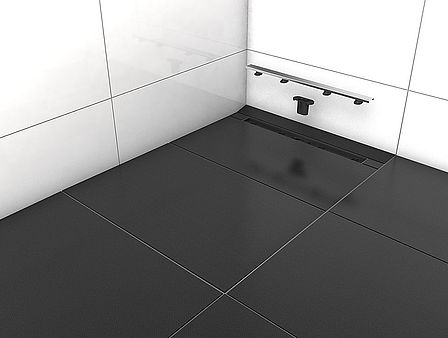
Insert the shower insert, the odour trap and the drain cover. The siphon can be cleaned at any time.
 Alternative with Fundo drain substructure element
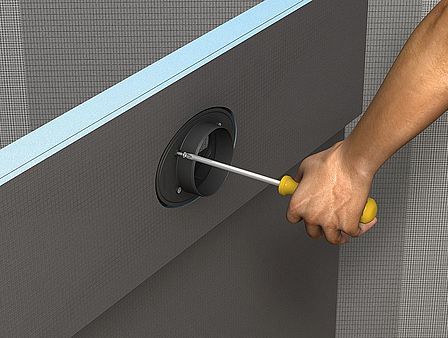
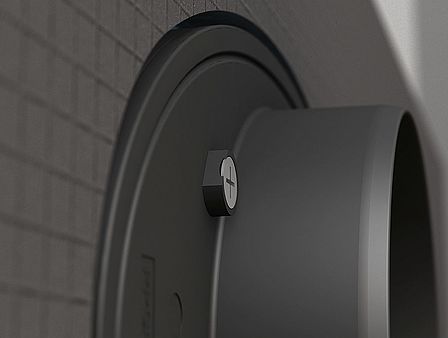
Alternatively you can use the Fundo drain substructure element.
