 3
3
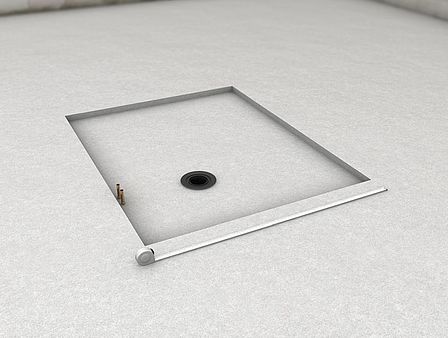
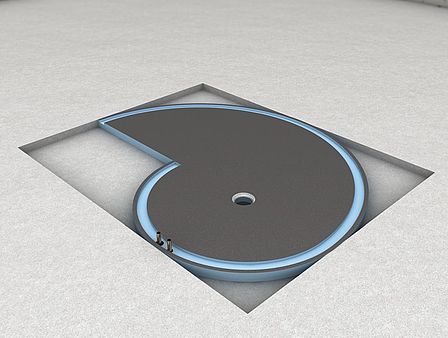
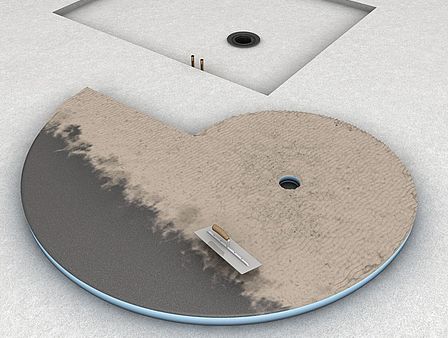
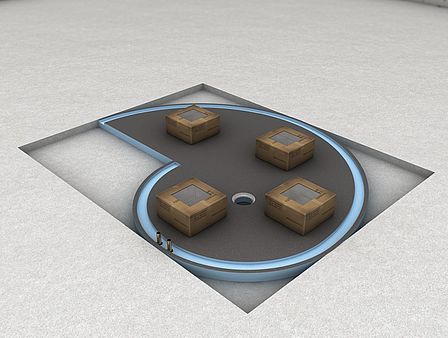
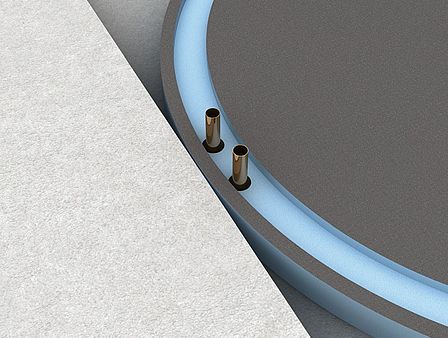
When installing the floor elements, the cold and hot water inlet pipes should be allocated as per the installation plan.
 7
7
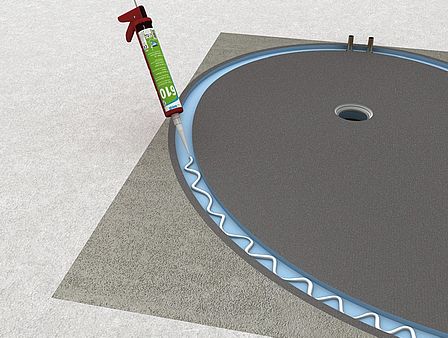
Apply wedi 610 adhesive sealant in waves onto the cut-out; then, place the individual wall elements into this cut-out.
 8
8
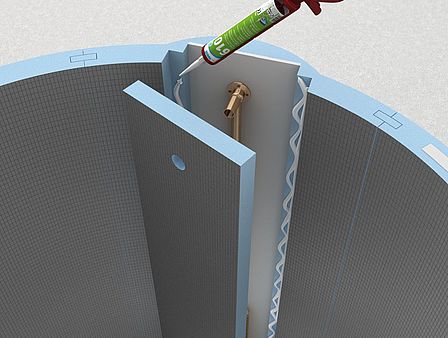
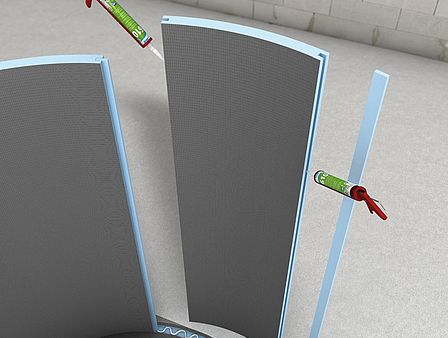
The wall elements are connected by a tongue and groove process using wedi 610 adhesive sealant, which is applied to the groove and on the left and right sides of the tongue.
 9
9
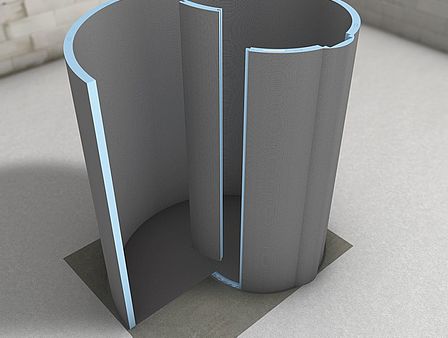
Then, the wall elements are installed one after the other in accordance with the installation instructions.
 10
10
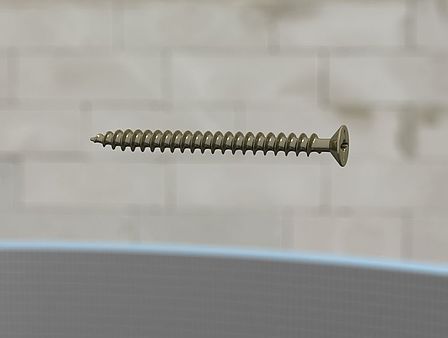
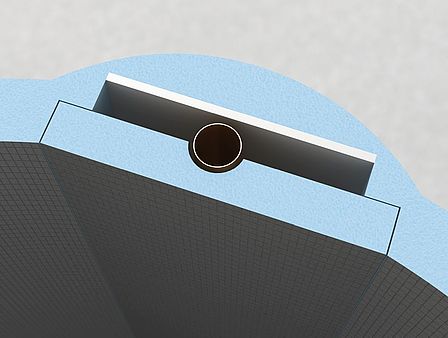
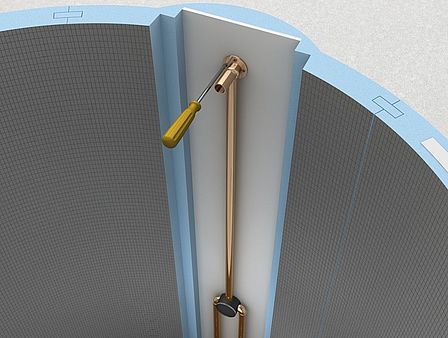
Flush-mounted fittings: fasten and connect inlet pipes behind the posterior reinforcement board by using drywall screws.
 12
12
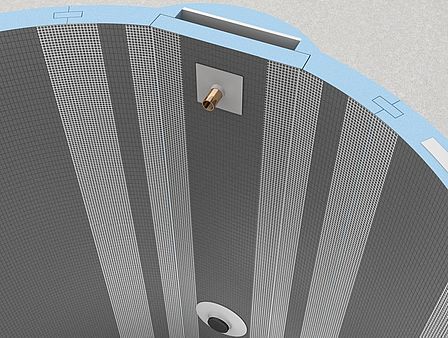
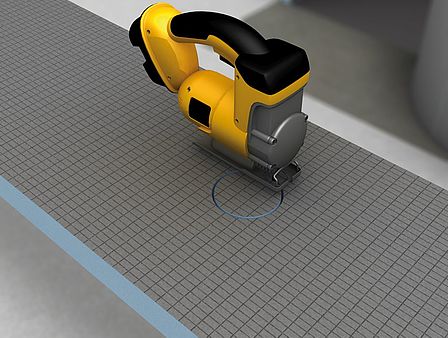
Cut holes for fittings in the cover panel ...
 14
14
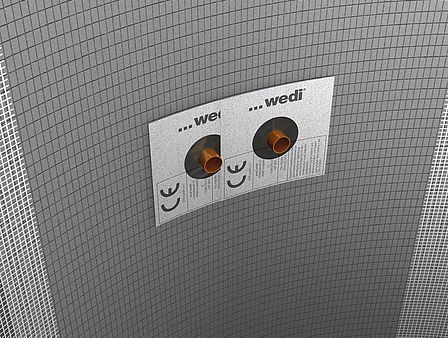
Seal holes with wedi 610 adhesive sealant and suitable wedi Tools sealing collars.
 16
16
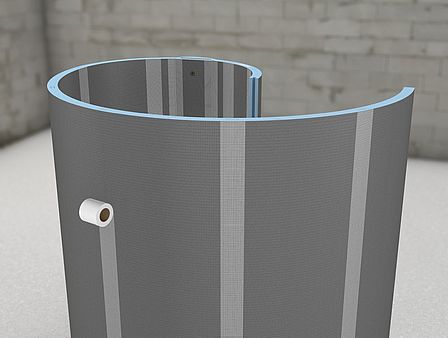
Apply wedi Tools reinforcement tape to the inside and outside of the joints.
 18
18
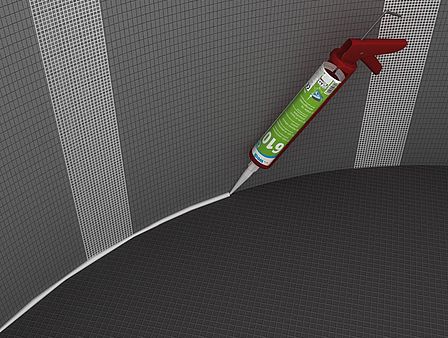
Seal the transition of the shower walls to the inside of the floor board by using wedi 610 adhesive sealant.
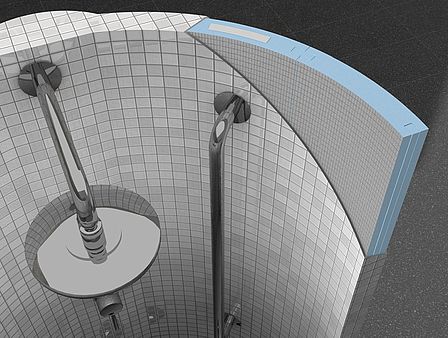 20
20
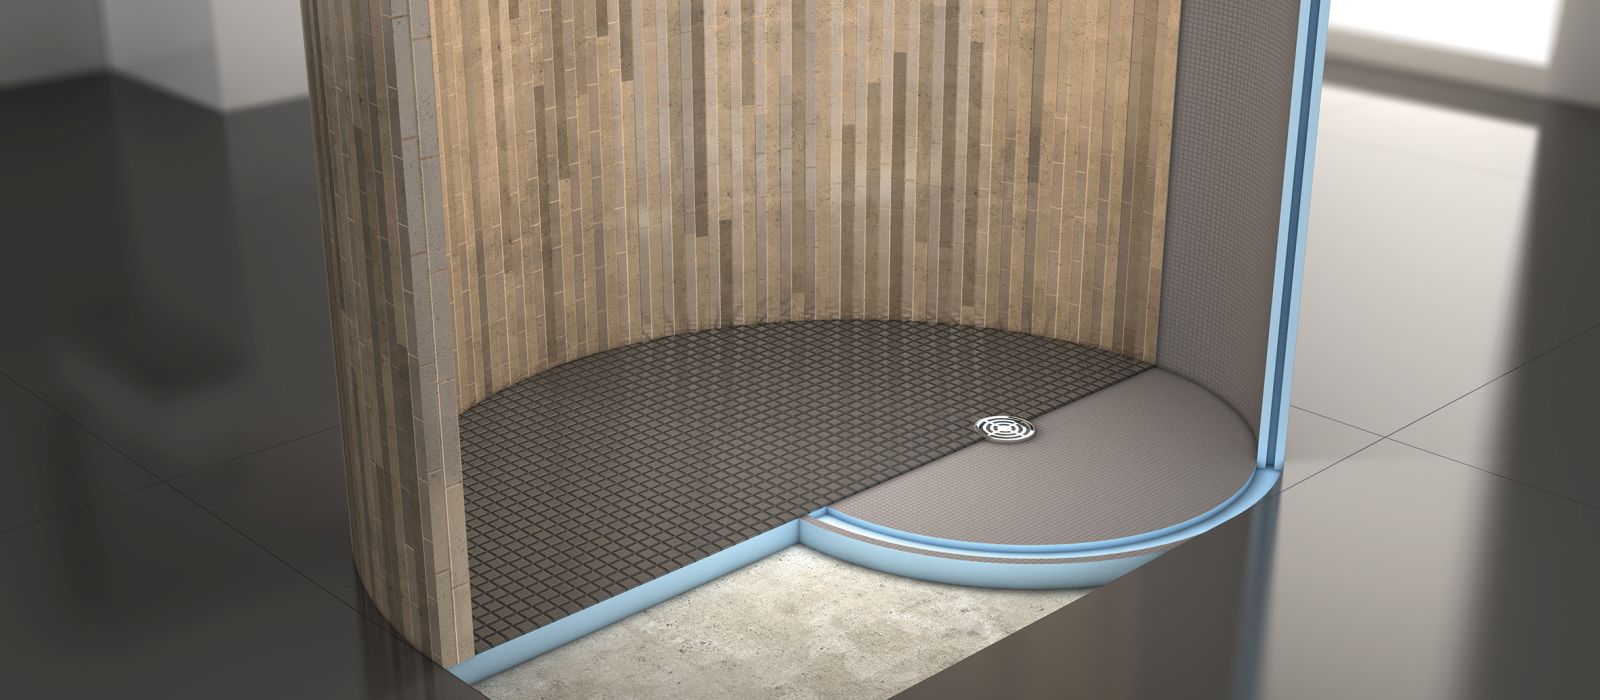
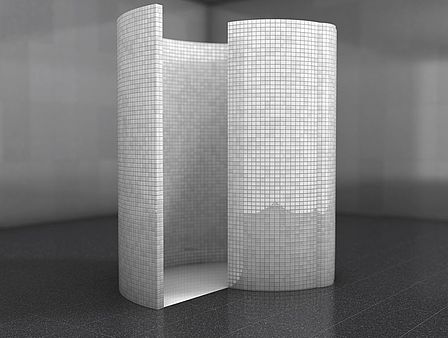
Then, tile as normal and install any desired fittings and shower rod, through the board into the load bearing wall behind.
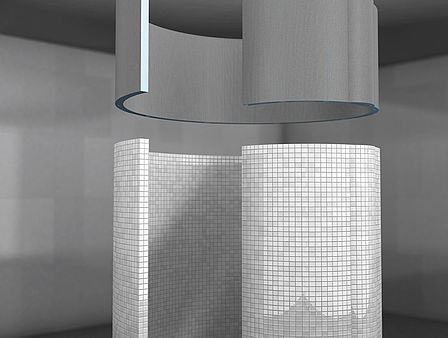 21
21
Optional height increase by using the extension element is possible. Apply wedi 610 adhesive sealant and wedi Tools reinforcement tape.
