 Step 1
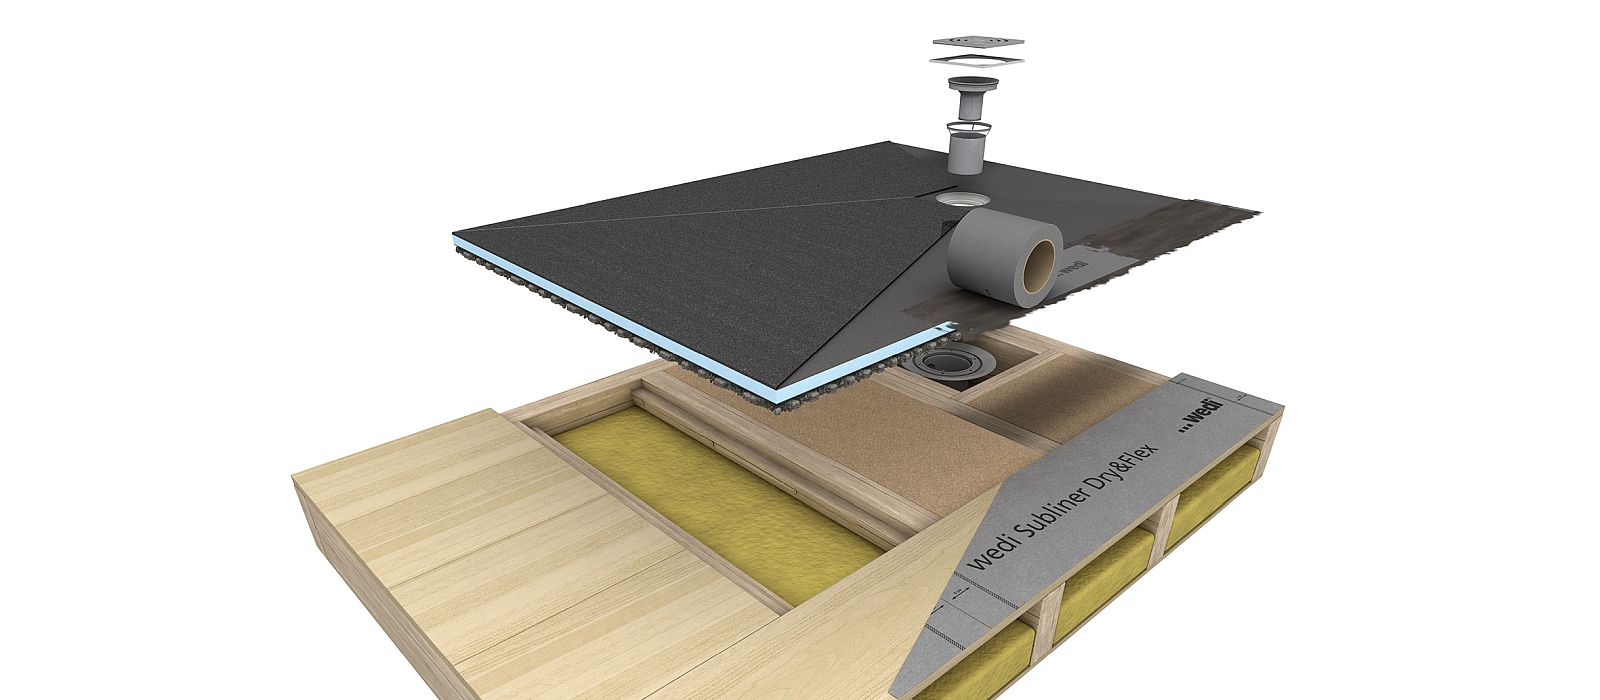
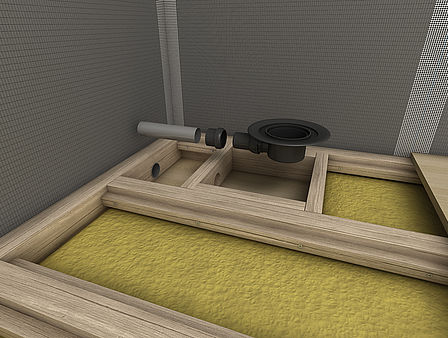
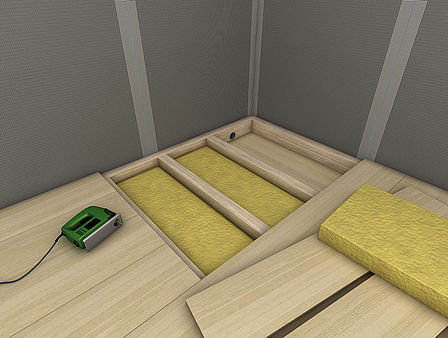
Cut out the timber beam position in the Fundo Ligno Plus shape and remove the insulating material underneath.
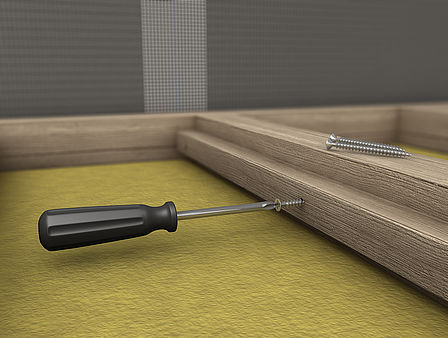 Step 2
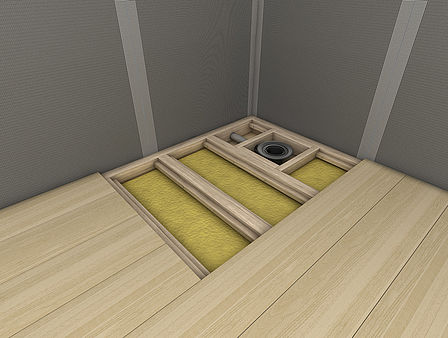
Then, make a holder for the Fundo Ligno Plus element. To do this, screw timber strips onto the available beam construc-
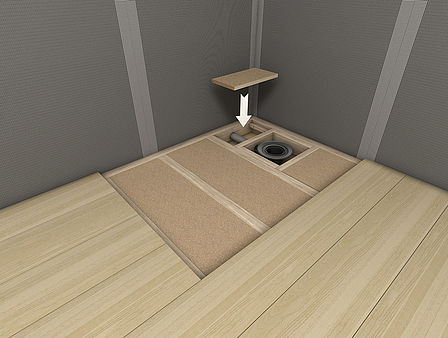 Step 5
Now, connect the drain pot and attach the structure preservation cover. Create the holder for the Fundo Ligno Plus element using timber boards, which are screwed onto the strips.
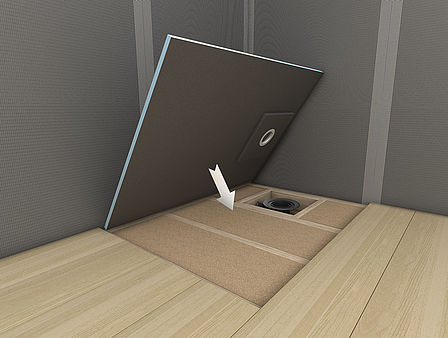 Step 6
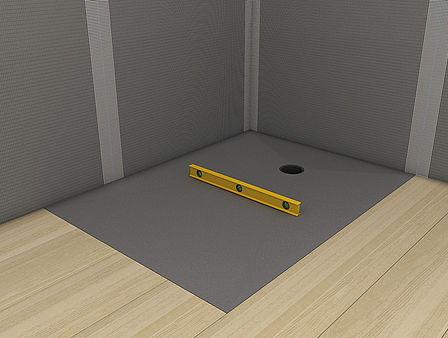
Check the drain position of the wedi Fundo Ligno Plus element and adapt it, if necessary.
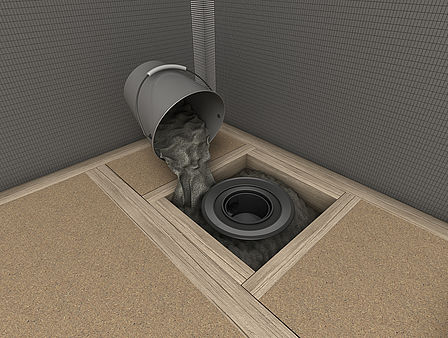 Step 8
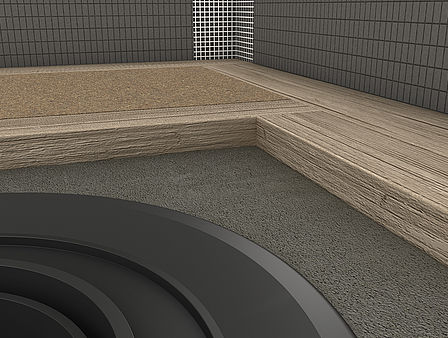
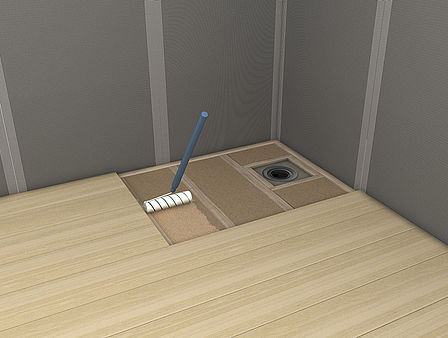
Fill the recess with earth-moist screed.
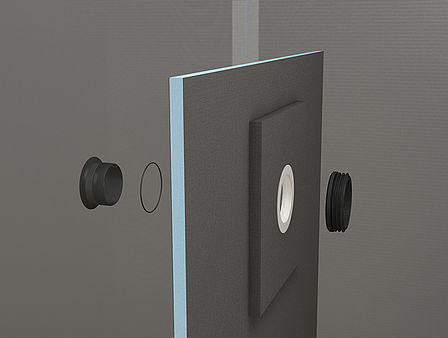 Step 11
Insert the O-ring int the plastic frame`s groove from above and screw down the shower tray`s screw valve using sealing insert.
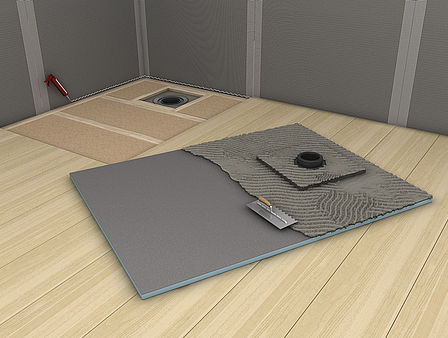 Step 12
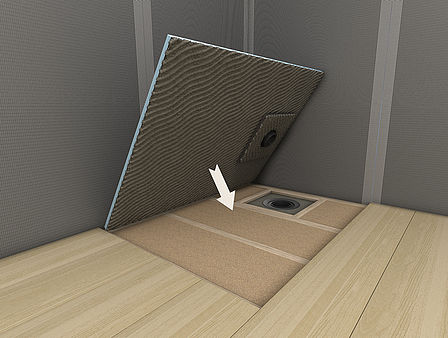
Apply tile adhesive all over the underside of the shower element.
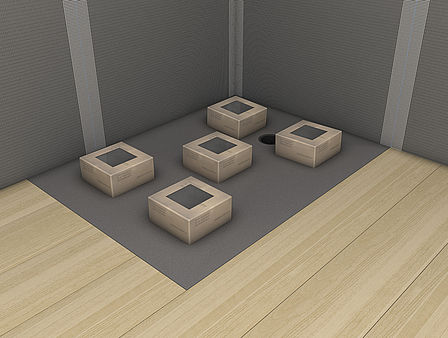 Step 15
Weight the element down for 24 hours.
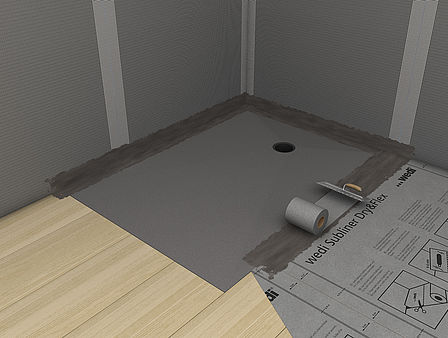 Step 16
Seal the joins and timber beam transitions with the wedi Fundo sealing set. Recommendation: Seal the complete timber floor area with wedi Dry & Flex.
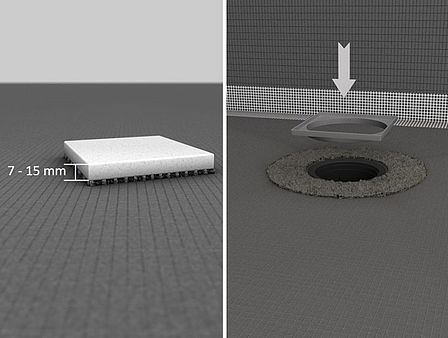 Step 17
Bring the drain frame to the height of the top tile edge and secure in the bed of adhesive. If the tile is thicker than 15 mm, use the ramping element to adjust the height.
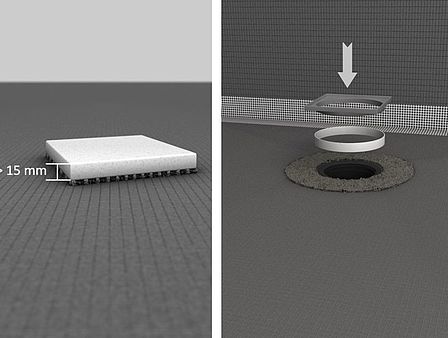 Step 18
If the tile is thicker than 15 mm, use the ramping element to adjust the height.
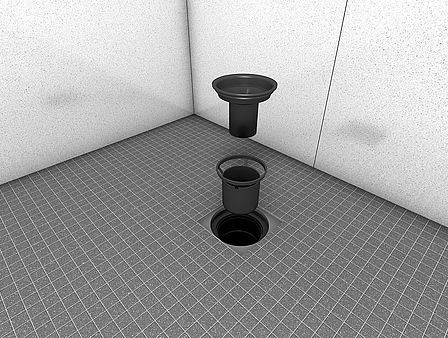 Step 19
Tile the element. Insert the shower insert and odour trap.
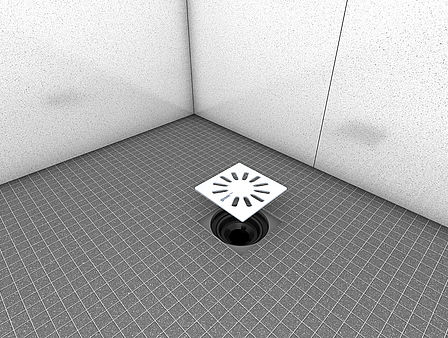 Step 20
Insert the stainless steel grid. The siphon can be cleaned at any time
