wedi Tools shower tray sealing set
new
„Specially adapted sealing set for any type of shower tray.“
Product information
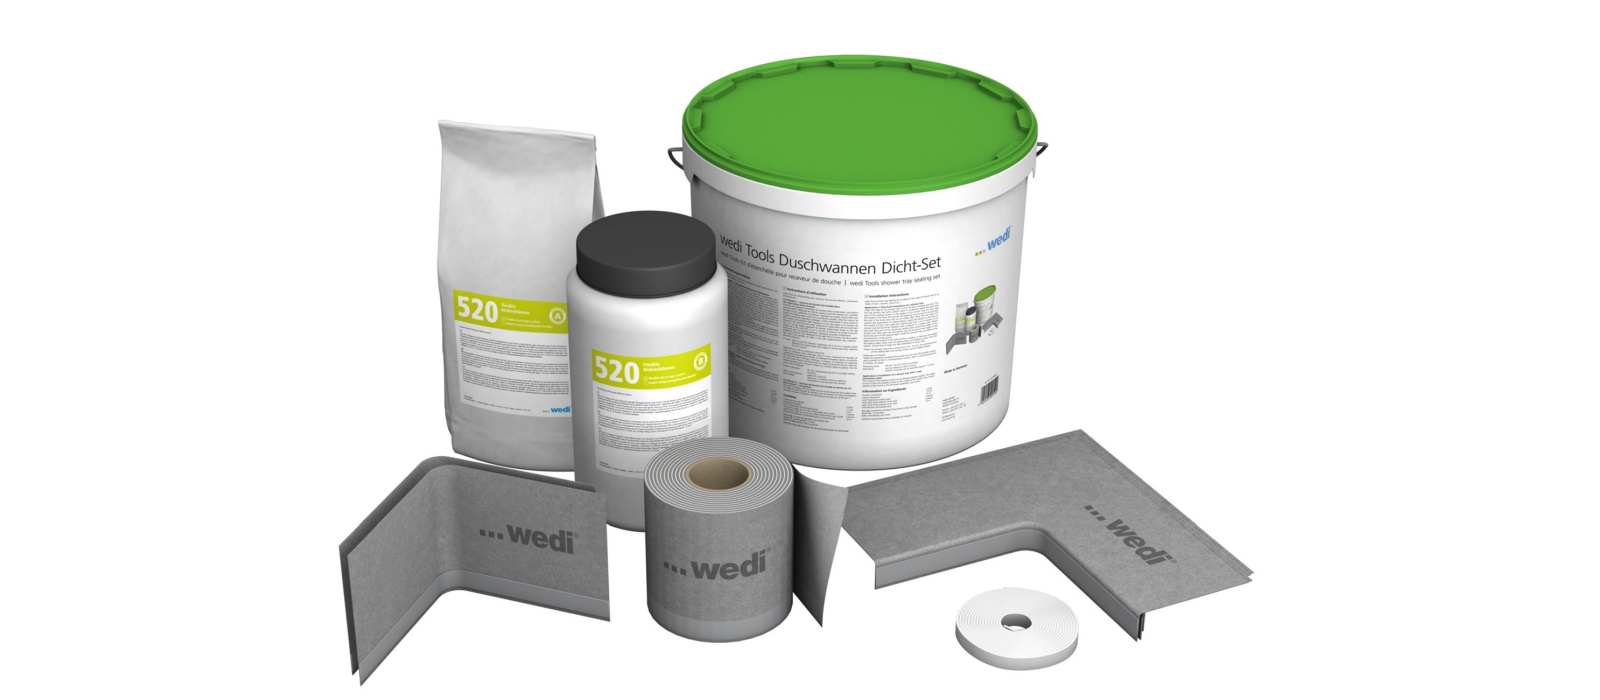
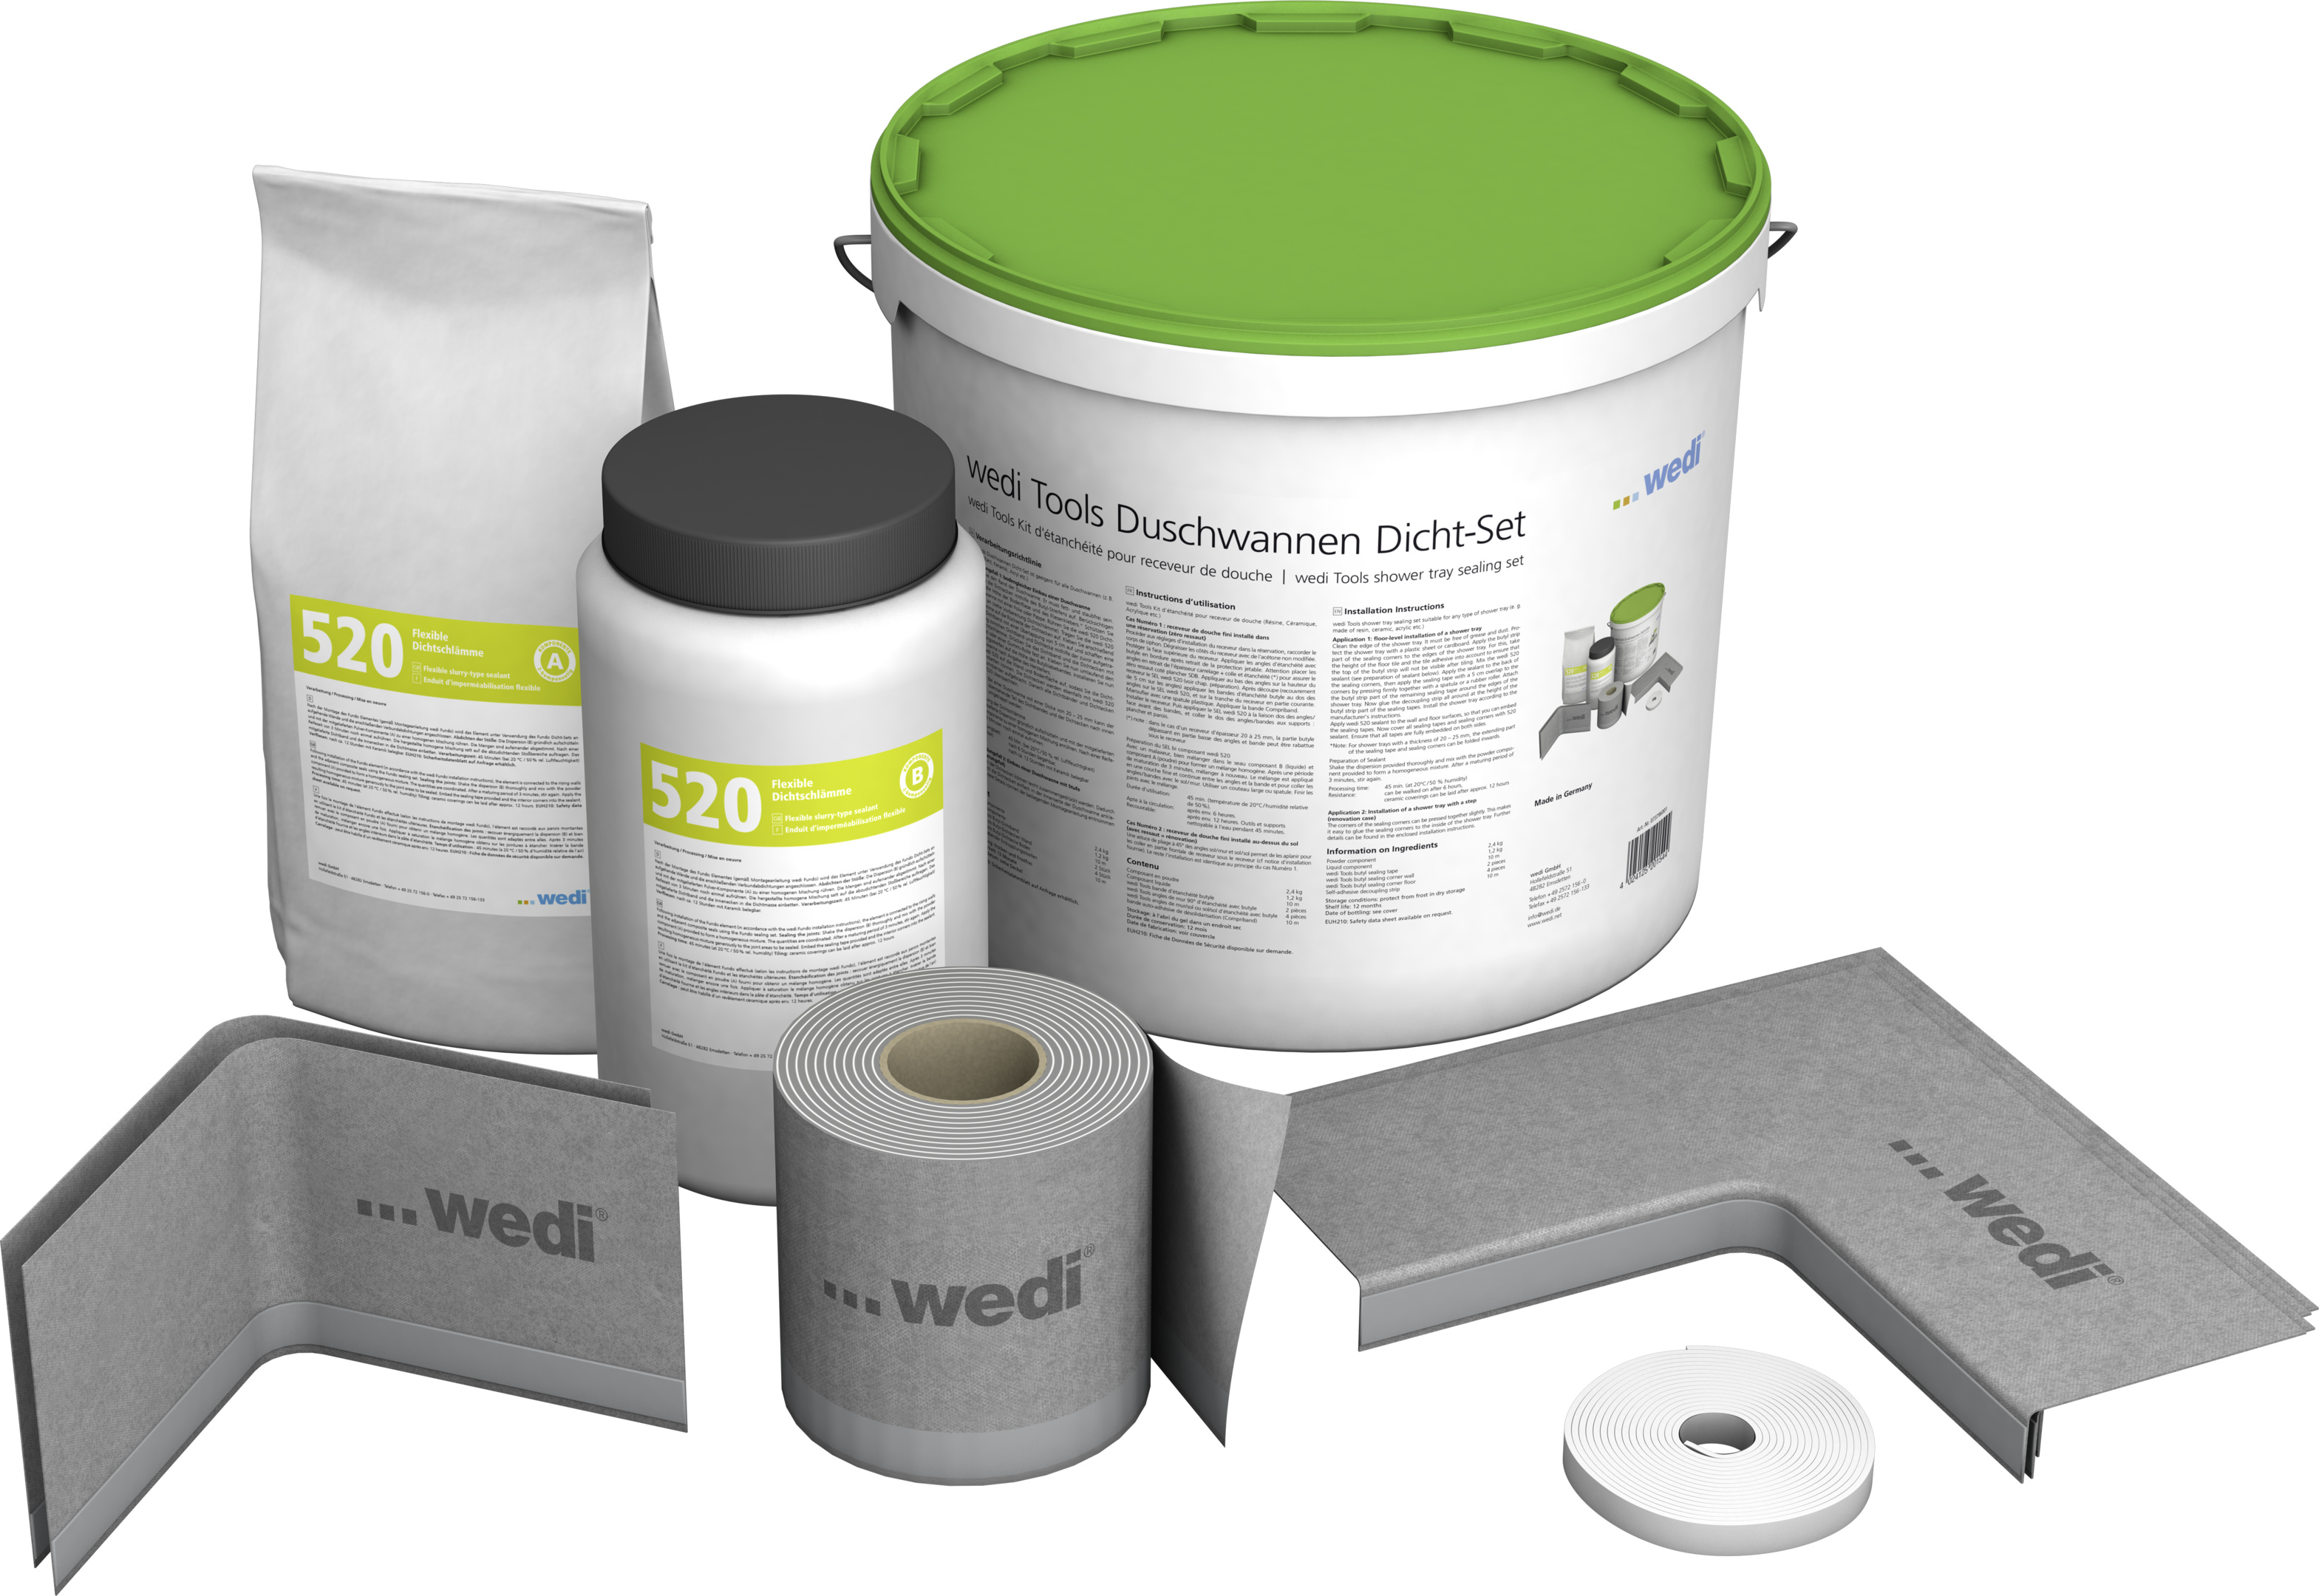
wedi Tools shower tray sealing set suitable for any type of shower tray (e. g. made of resin, ceramic, acrylic etc.)
Information on Ingredients:
- Powder component 2,4 kg
- Liquid component 1,2 kg
- wedi Tools butyl sealing tape 10 m
- wedi Tools butyl sealing corner wall 2 pieces
- wedi Tools butyl sealing corner floor 4 pieces
- Self-adhesive decoupling strip 10 m
Areas of use wedi Tools shower tray sealing set
Application 1: floor-level installation of a shower tray
Clean the edge of the shower tray. It must be free of grease and dust. Protect the shower tray with a plastic sheet or cardboard. Apply the butyl strip part of the sealing corners to the edges of the shower tray. For this, take the height of the floor tile and the tile adhesive into account to ensure that the top of the butyl strip will not be visible after tiling. Mix the wedi 520 sealant (see preparation of sealant below). Apply the sealant to the back of the sealing corners, then apply the sealing tape with a 5 cm overlap to the corners by pressing firmly together with a spatula or a rubber roller. Attach the butyl strip part of the remaining sealing tape around the edges of the shower tray. Now glue the decoupling strip all around at the height of the butyl strip part of the sealing tapes. Install the shower tray according to the manufacturer's instructions.
Apply wedi 520 sealant to the wall and floor surfaces, so that you can embed the sealing tapes. Now cover all sealing tapes and sealing corners with 520 sealant. Ensure that all tapes are fully embedded on both sides.
*Note: For shower trays with a thickness of 20 – 25 mm, the extending part of the sealing tape and sealing corners can be folded inwards.
Preparation of Sealant
Shake the dispersion provided thoroughly and mix with the powder component provided to form a homogeneous mixture. After a maturing period of 3 minutes, stir again.
Processing time: 45 min. (at 20°C / 50 % humidity)
Resistance: can be walked on after 6 hours, ceramic coverings can be laid after approx. 12 hours
Application 2: Installation of a shower tray with a step (renovation case)
The corners of the sealing corners can be pressed together slightly. This makes it easy to glue the sealing corners to the inside of the shower tray. Further details can be found in the enclosed installation instructions.


